Fiber Optics
What a Fiber Optic Installation Looks Like, Step by Step
From survey to splicing to final testing, here is how a professional fiber optic installation is carried out in a commercial or multifamily building.
By UTECH · · 3 min read
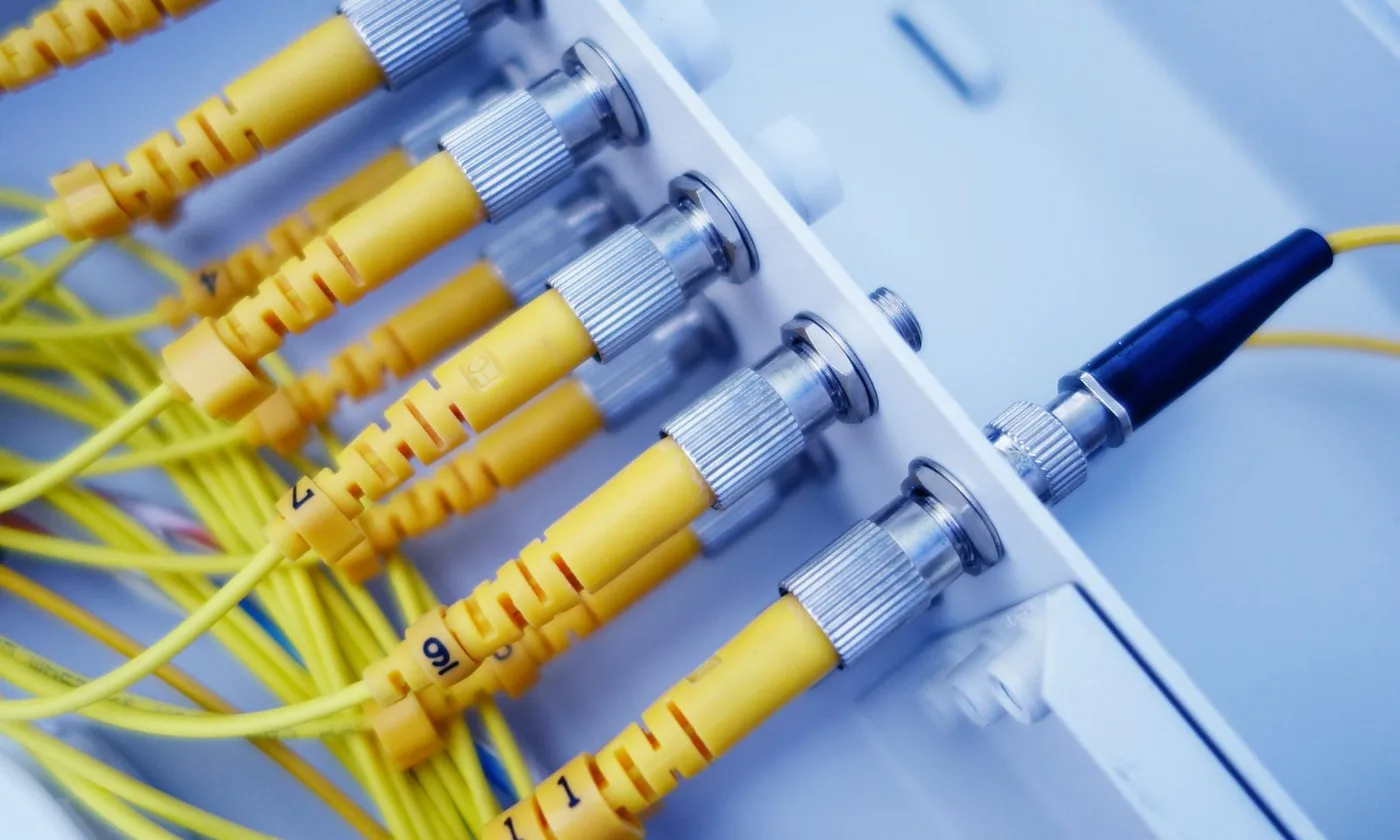
If you have never managed a fiber project, the process can feel like a black box: crews disappear into risers and ceilings, then a test report appears. Here is what actually happens at each stage, so you know what to plan for and what to expect from your installer.
1. Site survey and route planning
The crew walks the route from end to end: telecom rooms, risers, ceilings, conduits, and any outdoor paths. They confirm:
- The real cable length along the route
- Available pathway capacity and where new sleeves or conduit are needed
- Rated walls and floors that need firestopping
- Access requirements and work hours
2. Design and materials
- Fiber type: multimode for most in-building backbones, single-mode for long or building-to-building links
- Cable construction: indoor, indoor/outdoor, or armored depending on the environment
- Strand count, including spares for growth
- Termination method: fusion-spliced pigtails or factory pre-terminated assemblies
- Enclosures and panels at each end
3. Pathway preparation
- Install innerduct where fiber shares tray or conduit with other cable
- Add sleeves and core holes through floors and rated walls
- Set up pull points and protect sharp edges
4. Pulling the cable
Fiber is pulled with care: within the manufacturer’s maximum pull tension, without kinks, and above its minimum bend radius. Service loops are left at each end for termination and future changes. The cable is supported and secured along its route, not left loose in ceilings.
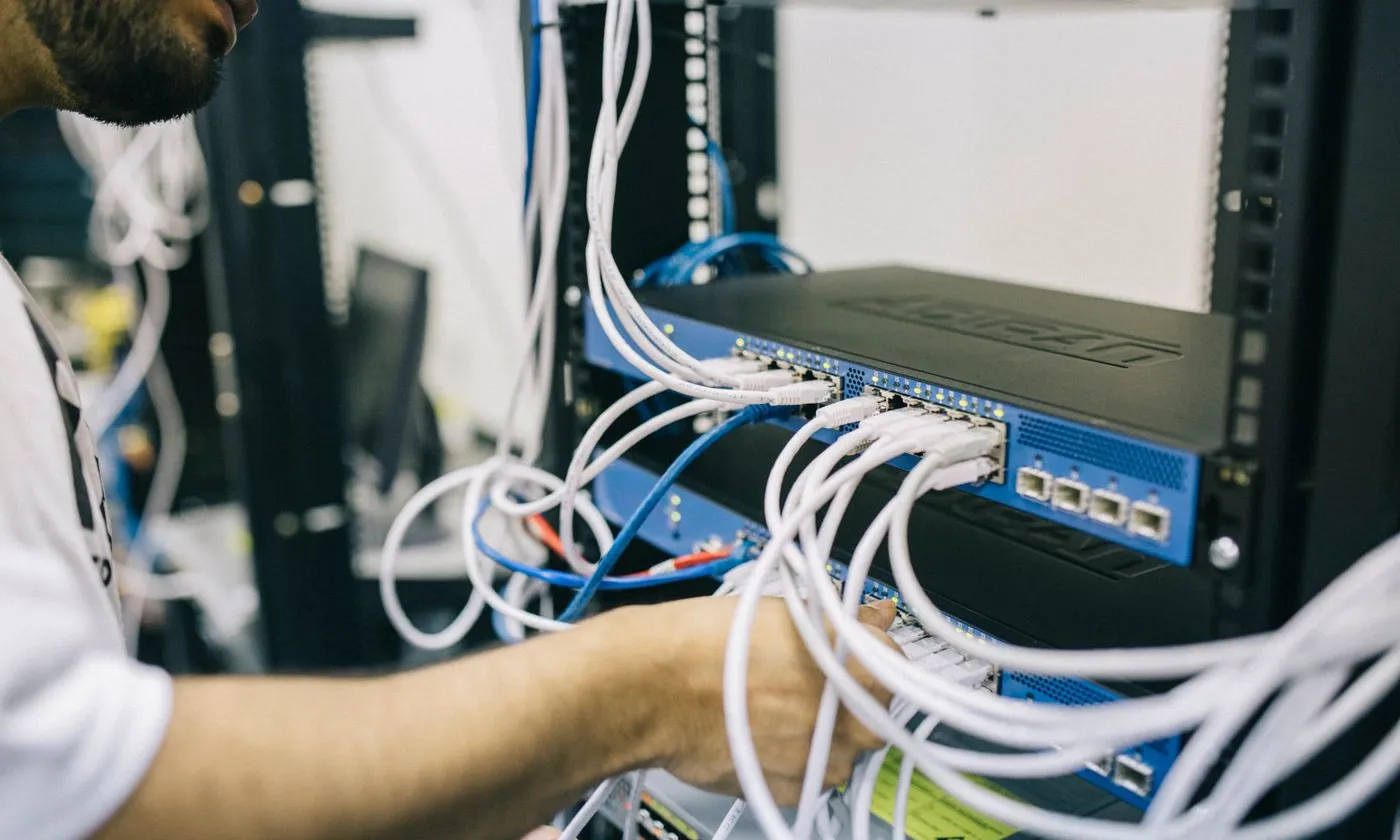
5. Termination and splicing
- Strands are prepared, cleaved, and fusion spliced to factory-polished pigtails, or pre-terminated cables are connected directly
- Splices are protected in trays inside enclosures
- Connectors are inspected with a scope and cleaned before anything is mated
6. Testing
- Loss testing of every strand with a light source and power meter, compared to the link’s loss budget
- OTDR testing where specified, to document splice and connector performance along the run
- Any strand that fails is reworked and retested
7. Labeling, documentation, and closeout
- Every cable, panel, and port labeled to a consistent scheme
- Strand assignment records showing what each fiber is used for
- Test reports for every strand
- As-built drawings of the route
Typical timeline drivers
Project length depends mostly on route complexity, access windows, the number of terminations, and coordination with other trades, not on the length of the cable itself.
Fiber installation in NY, NJ, and PA
UTECH installs, splices, tests, and documents fiber optic cabling for commercial and multifamily buildings across New York, New Jersey, and Pennsylvania. Contact UTECH to plan your fiber project.